How to fix drywall seams on ceiling..
Drywall seams can be annoying, and they can also pose a problem if they are not fixed. Most homeowners tend to ignore them and hope they go away, but this is not ideal.
If you notice that drywall is coming out, cracks have appeared, and the walls are not as sturdy as they used to be, it’s time to fix drywall seams on ceiling.
Fixing drywall seams on ceiling is easy as there are many ways of doing so. In this post, we will tell you about the 3 easiest ways of fixing drywall seams on ceiling – nail gun method, drywall compound method, and drywall taping method.
Troubleshooting Drywall Seams – Identification and Solutions
If you notice drywall seams on your ceiling, there are a few things you can do to rectify the situation.
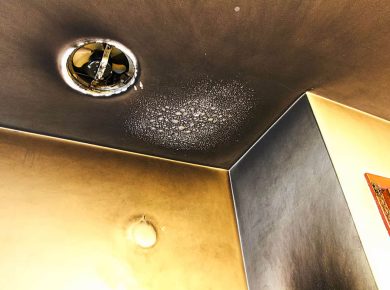
First, look for wet spots or damp patches around the seam where the drywall and ceiling meet. If you find any, inspect them for lumpy or bumpy areas. These could be signs of corrosion or structural damage.
Once you’ve identified the drywall seam, touch it to check for a smooth, flat surface. Also, inspect the joint for cracks or chips that could indicate a structural failure. If all of these tests come back negative, it’s likely that you can fix the drywall seam without replacing the ceiling.
How to Fix Drywall Seams on Ceiling – Step by Step Guide
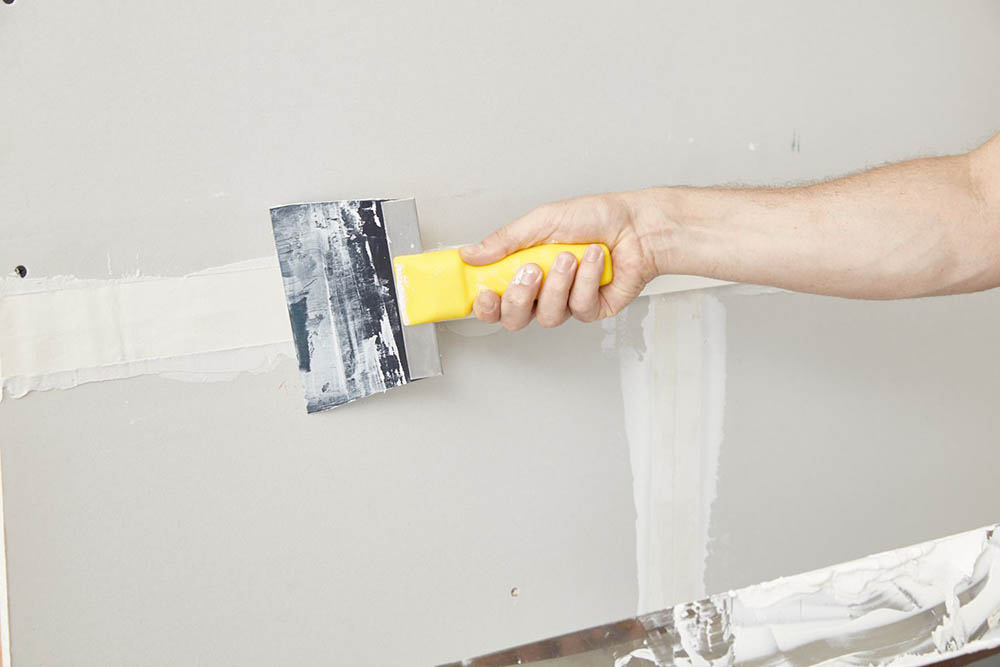
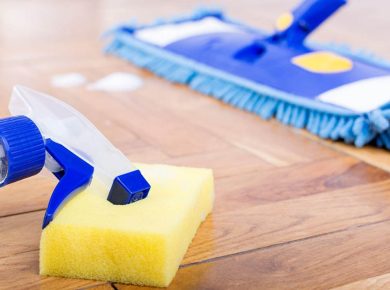
To fix drywall seams on ceiling, use a drywall seam filler. This is a compound that can be used to fill gaps in drywall seams. It’s a water-based primer and joint compound that sands easily.
- Start by applying the seam filler with a putty knife.
- Apply the compound with a putty knife until it covers the gap in the drywall joint.
- Use your putty knife to smooth out any excess seam filler.
- Then, use your finger to smooth out the compound and remove any excess residue.
- Once the drywall joint is filled, you can paint or finish it as desired.
You can also read our tips on how to repair drywall seams on ceiling for more information and ideas on how to handle this task..
Fixing Drywall Seams with Nail Gun | Safe and Easy Way
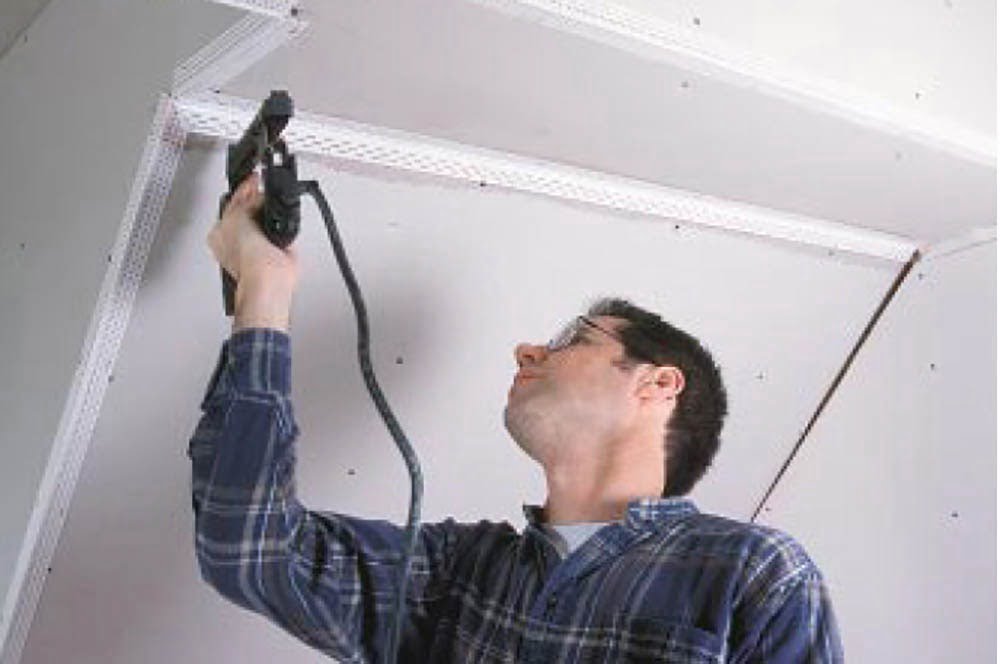
If you have drywall in your home and want to patch up any holes or cracks, then using a nail gun to fix drywall seams is one of the best options.
However, it is important to note that using a nail gun is safe and easy way to fix drywall seams but there are some tips to keep in mind while using a nail gun.
– Nail Gun Seams: Use a nail gun to fix drywall seams.
– Safe and Easy Way to Fix Drywall Seams: Follow these 3 easy steps.
- Step 1: Check the seam for cracks or holes before fixing it with a nail gun. Fix any cracks or holes with an appropriate material before fixing the seam.
- Step 2: Position the drywall seam so that the joint between the two pieces of drywall is straight and even.
- Step 3: Use a nail gun to anchor the joint of drywall with screws or nails depending on the type of drywall used.
This will ensure seamless joint between two pieces of drywall and also prevent any gaps from forming between the two pieces of drywall.
Besides, it will prevent any water from entering the joint, which can cause damage to your home’s structural integrity and also increase leakage potential.
Final Word
Drywall seams can be a source of water intrusion and mold growth.
To prevent this, it’s important to fix drywall seams on ceiling properly. Here are the steps that you can follow to do so.
- First, apply joint compound to the seam using a taping knife or trowel. The joint compound should be applied in even layers until it covers the entire seam area.
- After applying joint compound, cut a piece of plywood to the correct size and place it over the joint compound. This will provide a smooth surface for you to hammer and chisel the excess joint compound off of the drywall. Keep removing excess joint compound until there is no visible drywall underneath.
- Finally, use a hammer and chisel to smooth out any sharp edges left from removing the joint compound. Once the job is complete, your drywall seams will be fixed and water won’t be able to get through anymore.
Frequently Asked Questions
1. What are the three easy steps for fixing drywall seams on ceiling?
Fixing drywall seams on ceiling is a three-step process that involves cutting a small hole in the drywall panel above the seam, applying adhesive to the back of the drywall panel, and pressing the drywall panel against the wall until it is secure.
2. How do I fix a drywall seam that is not centered?
To fix a drywall seam that is not centered, use a level to make sure that the seam is centered.
Then, cut a piece of drywall slightly smaller than the gap that exists between the two pieces of drywall.
Install the new piece of drywall in the gap, then press it into place. Trim any excess drywall around the edge of the new piece of drywall.
3. How do I fix a drywall seam that is not perpendicular to the joists?
To fix a drywall seam that is not perpendicular to the joists, start by cutting a hole in the drywall at the edge of the seam.
Next, cut a piece of wood to the same length as the drywall and insert it into the hole. Use a hammer and chisel to gently break up the drywall around the wood piece.
Repeat step 2 until you have removed all of the drywall around the wood piece. Remove the wood piece and replace it with a new piece of drywall that is perpendicular to the joists.
Conclusion
With these simple steps, you can easily fix drywall seams on ceiling. You don’t have to worry about the ceiling giving way or damaging your wall paper. If you still aren’t sure how to fix drywall seams, let our experts help you! And if we can’t help you, we’ll guide you through the process of getting a pro to help you out.