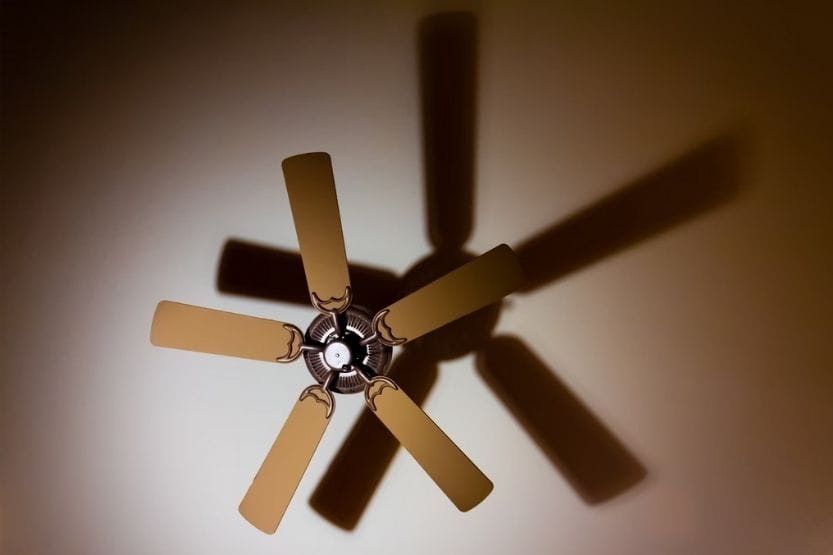
Red Wire for Ceiling Fan: Understanding Its Purpose and Installation
Are you about to wire a ceiling fan for the first time? If so, you might be wondering about the purpose of each wire connected to it, including the red wire.
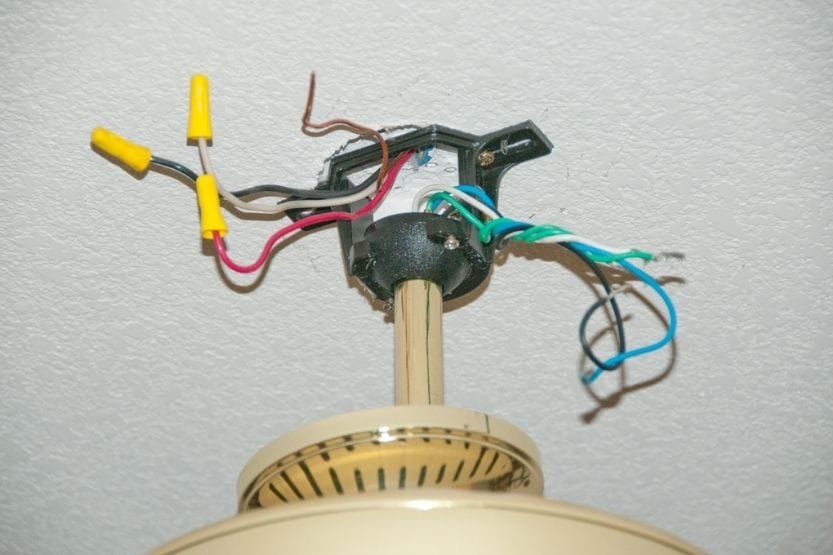
The red wire in a ceiling fan is an essential conductor that carries the hot feed for the light kit.
This wire is typically found in ceiling fans equipped with a separate light kit hanging beneath the fan.
In this comprehensive guide, we will explore the function of the red wire for ceiling fans and provide step-by-step instructions on how to properly wire both the ceiling fan and ceiling light.
Understanding the Purpose of the Red Wire
The red wire in a ceiling fan serves as the fourth conductor that carries the hot feed for the light kit.
This wire is typically present in ceiling fans that have a separate light kit hanging beneath the fan.
While standard electrical cables for ceiling fans include black, white, and copper wires, the addition of a red wire allows for a separate switch to control the light, independent of the fan.
If you prefer having a separate switch for the light and fan components, connecting the red wire becomes necessary.
Components of a Ceiling Fan Electrical System
Before diving into the installation process, it’s important to understand the components of a ceiling fan electrical system.
Ceiling fans are typically equipped with electrical cables that consist of black, white, and copper wires.
The black wire carries the hot feed, the white wire serves as the common or neutral wire, and the copper wire functions as the ground.
In ceiling fans with a built-in light, a red wire is included to supply power to the light kit. Additionally, some ceiling fans may also have blue and green wires.
The blue and black wires are referred to as phase wires and are used when two switches control the fan and light separately.
The green wire is the ground wire, crucial for safety purposes.
Step-by-Step Installation Guide
1. Read the Instruction Manual
Before starting the installation process, thoroughly read the instruction manual that comes with your ceiling fan.
While you might have previous experience installing a ceiling fan, it’s important to note that each fan model may have specific instructions and warnings.
Familiarizing yourself with the manual will help prevent installation errors and ensure your safety.
2. Attach the Bracket and the Fan to the Ceiling
Begin by turning off the power to the fan at the fuse box. Identify the corresponding switch that controls the power to the fan.
To ensure safety, turn off the power to any lights in the room where the fan will be installed.
3. Identify the Wires Accordingly
Next, identify the wires leading to the installation point on the ceiling. You will typically find three different wires: yellow, white, and black.
The yellow wire is the ground wire, the white wire is the neutral wire, and the black wire is the power feed.
If your ceiling fan has a built-in light, you may also find a red and blue wire.
The red wire carries power to the fan’s light, while the blue wire is a phase wire used when separate switches control the fan and light.
4. Mount the Bracket to the Ceiling
Pass the wires through the center of the bracket and align the bracket with the holes on the ceiling.
Secure the bracket to the ceiling by tightening the screws using a screwdriver. Ensuring the bracket is securely mounted will prevent wobbling when the fan is in use.
5. Hang the Ceiling Fan on the Bracket
With the bracket securely mounted, have someone assist you in lifting and hanging the ceiling fan onto the bracket.
This step is essential as ceiling fans can be bulky and difficult to install alone.
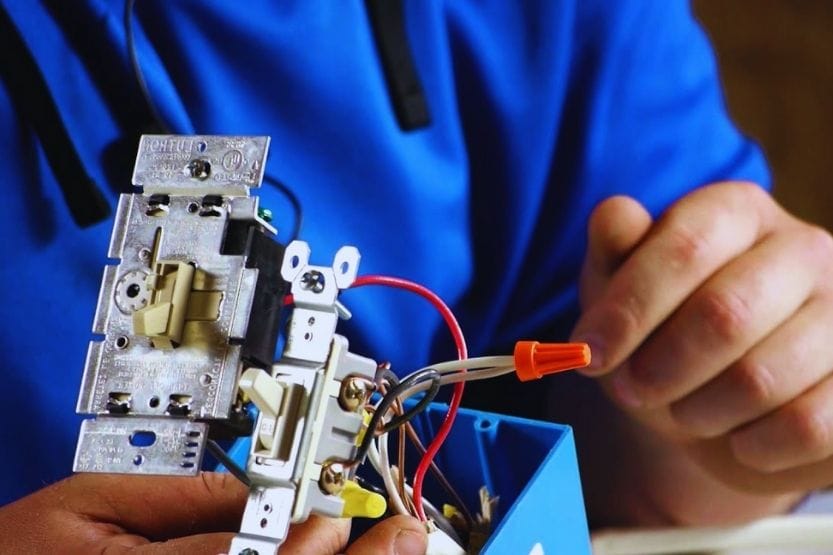
6. Connect Ceiling Fan Wires
Now that the fan is hung, it’s time to connect the various wires. Start by stripping the ends of the wires to expose the copper.
Connect the white wires by twisting their ends together. These are the neutral wires that complete the fan circuit.
Next, connect the green wires, which are the grounding conductors, by twisting them together. If your ceiling fan has one switch, connect the blue and black wires together.
For ceiling fans with a lamp, connect the red wire to the appropriate switch.
Lastly, twist the phase wires together, typically the black wire from the ceiling to the black and blue wires from the fan.
7. Complete the Installation Process
After connecting the wires, ensure they are neatly placed within the bracket.
Attach the fan cover to the bracket, aligning the holes, and tighten the screws to secure it in place.
Once everything is securely installed, turn on the power controlled by the fuse box and test the fan.
If any issues arise, such as wobbling or improper functionality, double-check the wiring and consult a professional electrician if necessary.
Troubleshooting Tips
If you encounter any problems during the installation or notice issues with the functioning of your ceiling fan, consider the following troubleshooting tips:
- Wobbling: If the fan wobbles when turned on, turn off the power and ensure all screws are tightened securely.
- Improper Functionality: If the fan or light does not work as expected, double-check the wiring connections and ensure they are properly joined.
- Consult a Professional: If you have followed all the steps correctly but still encounter issues, it is advisable to consult a professional electrician for further assistance.
Conclusion
Understanding the purpose of the red wire in a ceiling fan is crucial when it comes to properly installing and wiring the fan and its light kit.
By following the step-by-step installation guide and familiarizing yourself with the components of a ceiling fan electrical system, you can confidently wire your ceiling fan and enjoy its functionality.
Remember to prioritize safety, read the instruction manual, and consult a professional if needed. With this knowledge in hand, you can successfully wire your ceiling fan and create a comfortable and well-lit space in your home.